

Task 3 - Computer Controlled Cutting (Vinyl Cutting)
- EmadMaximos
- Sep 19, 2018
- 5 min read

Updated: Nov 6, 2018

Task Objective
The main objective of the given task was really entertaining and pleasantly fun as we were asked to make a Vinyl sticker of our own, of anything we enjoy or love, to be placed on our laptops or any surface of our choice. Of course this required first knowing how to operate the Vinyl cutter machine, then learning how to use the program called "Cut Studio" to make the sticker design, and finally how to carefully cut off and place this sticker on a flat surface.
Introduction to Vinyl Cutting
Vinyl Cutting is basically the trimming of Vinyl material into various shapes or letters of choice as one may want. This process is done using a machine called "Vinyl Cutter". The Vinyl machine is not a very big device rather; it is almost the same size as a computer printer which can be connected to a computer with a cable. The control of this machine is specifically handled by the computer, making it a CNC machine, which makes sure that the sharp blades of the Vinyl cutter machine move properly. It is the duty of these sharp blades to cut out letters or different shapes from sheets of the adhesive Vinyl material. When these letters or shapes are cut with the vinyl machine, they can be stuck afterwards on any surface of choice.
How does the Vinyl Cutter work ?
The Cutter makes use of a little knife to accurately cut out the lines of the figures designed into the sheet or pieces of Vinyl material holding onto the liner by the aid of Clampers. However, for the cutter to function properly, the sheet or piece has to be placed onto the machine so that its edges are within the vicinity of the sensors lying on the liner enabling the cutter to measure the dimensions of the given sheet using the "Roll" or "Piece" commands. The blade is known to move and turn from the X to the Y axis of the Vinyl while it is moved under the knife. This procedure ensures that the image of your design is cut into the Vinyl material.
Some Machine Specifications
The Vinyl cutter machine is built with the following specifications which help it to perform efficiently. They are as follows:
The Vinyl cutter is specifically designed to receive and work on material that has the width of 5 – 70 centimeters respectively and sometimes larger widths.
This cutter's mechanical resolution is about 0.0005. (Very high resolution!)
The cutting frequency of the Vinyl machine is built to work at about 50 centimeters for every second.
The highest down force which the Vinyl cutter releases are up to 250 grams.
The machine is specially designed to trim papers, card stock vellum or vinyl.
The machine is also built with a sharp sliding blade that can move from side to side of the material while cutting dents into the material.
Steps of the Cutting Process
The Vinyl Cutter is considered one of the most interesting machines in Fablab mainly due to its ease of operation and high functionality. Therefore, all you need to do in order to cut something on the Vinyl is simply go through these three easy steps: (a) Set your machine, (b) Prepare your file, and (c) Getting your sticker.
To prepare your file, there are two different ways: One using "Fab Modules" and the other using "Cut Studio" (the windows operating program that comes with the machine driver). In this task we used Cut Studio.
a) Setting the machine:
1. Fix your sheet to the machine, as shown in figure 1, and make sure the rolls are placed correctly in between the grey rectangles (the start must be within one of the three main grey rectangles "placed to your extreme right"). These rectangles play the role of the sensors that measure your sheet and give you the dimensions with which you will implement your design.

2. Open the machine and select one of these commands (Roll, piece or edge) to measure the dimensions of your sheet. I chose the "PIECE" command, shown in figure 2, as it measures both dimensions (length and width) at the same time, while the "ROLL" command measures only the sheet's width.

3. The machine will measure your sheet as shown in figure 3. Save these dimensions for later use.

Here is a short video showing how the Vinyl Cutter machine "Roland GX-500" measures the dimensions of a Vinyl sheet (length and width) using the "PIECE"command:
b) Preparing your file:
To prepare your file:
1. Open the cutting program "Cut Studio". Set your piece dimensions (measured by the machine) by going to "File", select "Cutting Setup", choose "Roland GX-500" and then click "Properties" as shown in figures 4 and 5 respectively; insert the dimensions or you can just click "Get from Machine" shown in figure 6 (remember the dimensions we saved before :D). (Note: Before importing your image and starting anything, make sure to set the measuring unit to millimeters (mm) not inches by also heading to "File", selecting "Preferences", and choosing mm when the preferences window pops up.)


2. Import your image to the cutting area and adjust it to fit as shown in figure 7.

3. Adjust the size of your image/ sticker by right-clicking on it and selecting "Properties", then in the "Size and Shape" tab put in the values you want for the Width and Height in millimeters (mm) as shown in figures 8 and 9 respectively.


4. Get the outlines of your picture by selecting it and right-clicking on your mouse and selecting "Image outlines", then selecting "Extract Contour Lines" as shown in figures 10 and 11 respectively. You can also set the "Alignment Image Density" which is like a drag cursor that goes between "Light" and "Dark".


5. Just click "Cutting", as shown in figure 12, for the machine to start cutting.

And here is a short video showing the Vinyl Cutter machine while cutting the sticker from a Vinyl sheet after it receives the "Cutting"command:
c) Getting your sticker:
1. After finishing cutting, take out your piece and weed it (Note: Remove the parts you don't need). In figure 13, you can see my sticker before weeding.

2. Put an adhesive tape or regular transparent scotch tape (in case you ran out of adhesive tape) on your design to transfer it.
3. Stick your design on whatever surface you want. (I chose my laptop :D)
4. Remove the tape slowly and carefully.
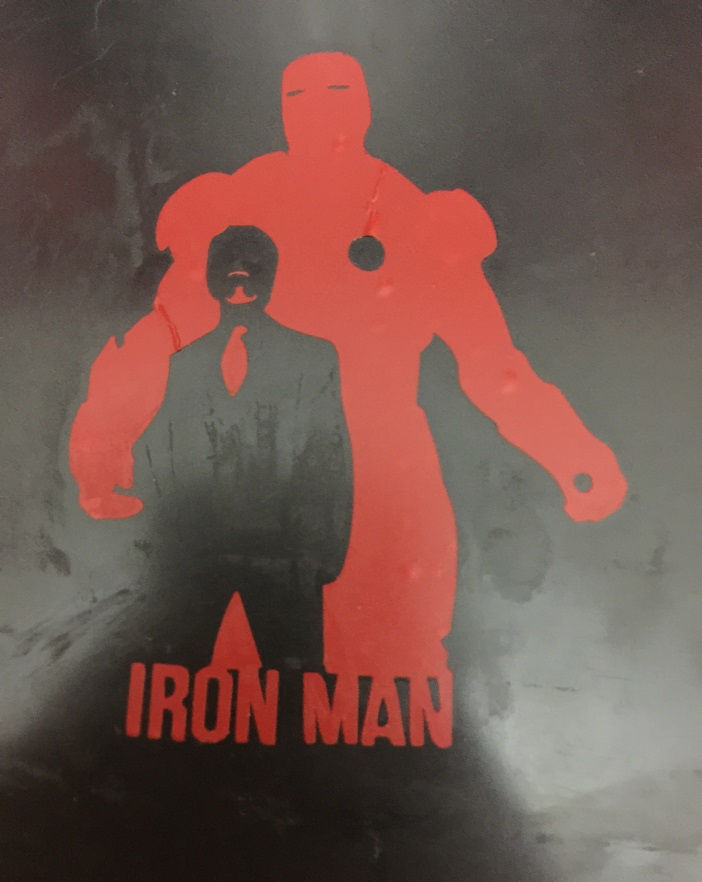
And finally, here's our amazing output sticker! :D

Conclusion
In summary, Vinyl cutting is a really amusing and simple process and you can do lots of different things and 2D designs with it….only the sky is the limit! So enjoy making your stickers :)
Note: Figures (1) and (2) are courtesy of, Fab Academy Certified and Leader of the Education Foundation in Giza Systems, Ms. May El-Dardiry. Please refer to this link for the document including the original images: http://archive.fabacademy.org/archives/2017/fablabegypt/students/469/computer_controlled_cutting.html
For more information and details about Vinyl cutting, operation of the Vinyl Cutter Machine, and steps of the cutting process. Please refer to the following link of a PDF file I made including everything you need to know about Vinyl cutting. Now, make your own sticker! :)
Comments